A few days ago, I wrote an article about how to Create your first Azure Chat Bot – Step by Step, Lets extend that article with additional details about how can we configure LUIS application and train it to be much more useful for practical usage.In my previous article, I covered how can we create a LUIS application. So, let’s go ahead and try to teach it a little more than “Hi and Hello” 🙂
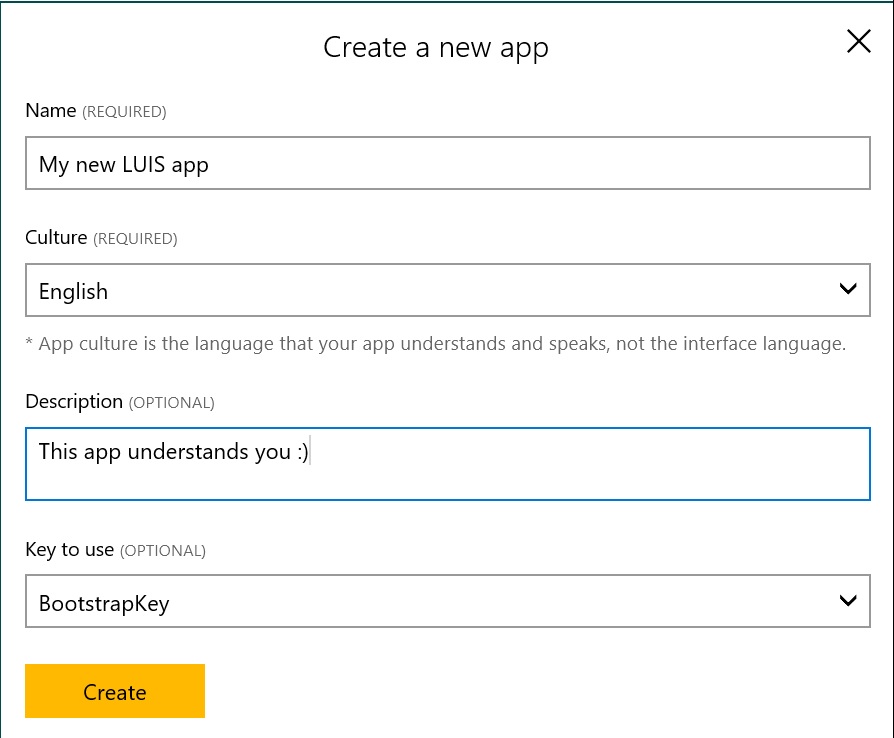
To start with login to LUIS at https://www.luis.ai with your azure credentials. You should see the app already created (if you followed my previous article). You can choose to create another app or just train the existing one.
However, in this article, I am going to extend the app already created during the previous article. So, either create a new app or click on an existing one.
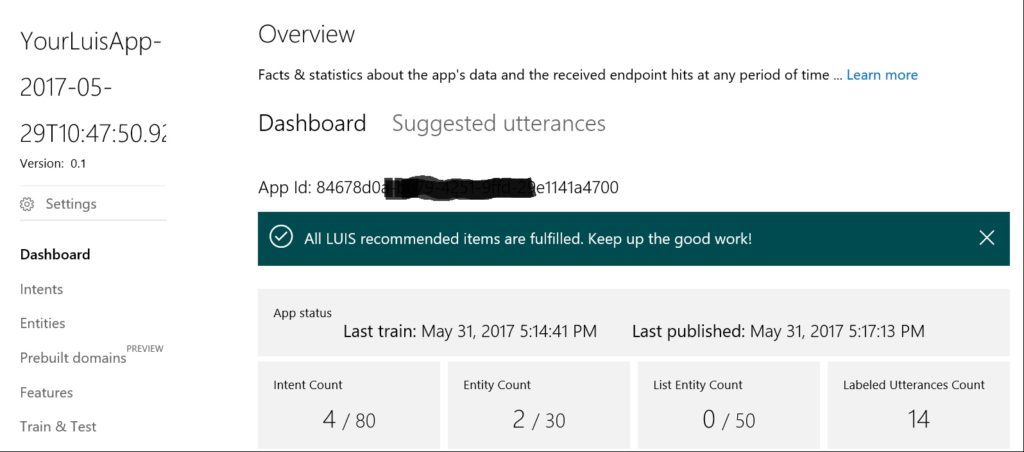
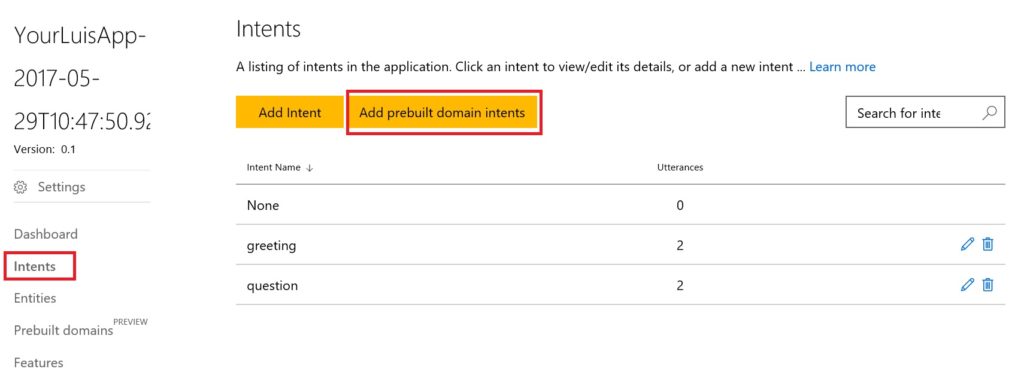
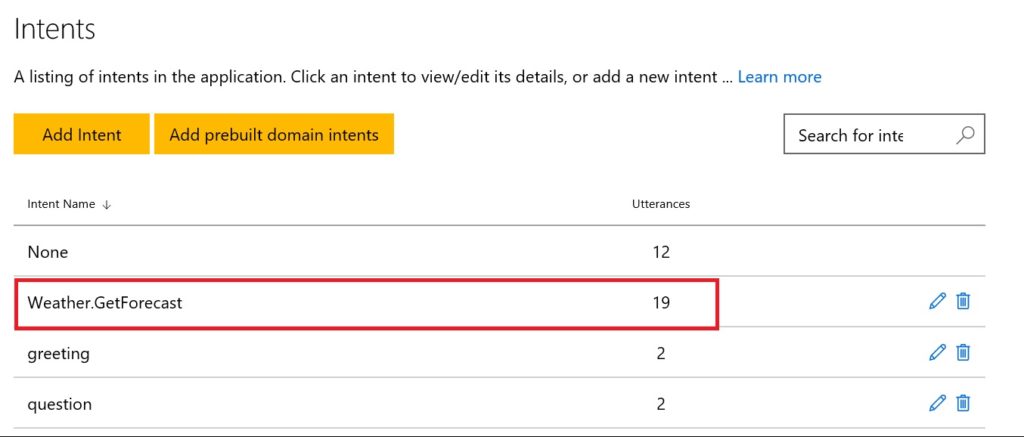
Once you are on the dashboard, click on Intents and then click on Add prebuilt domain intents.
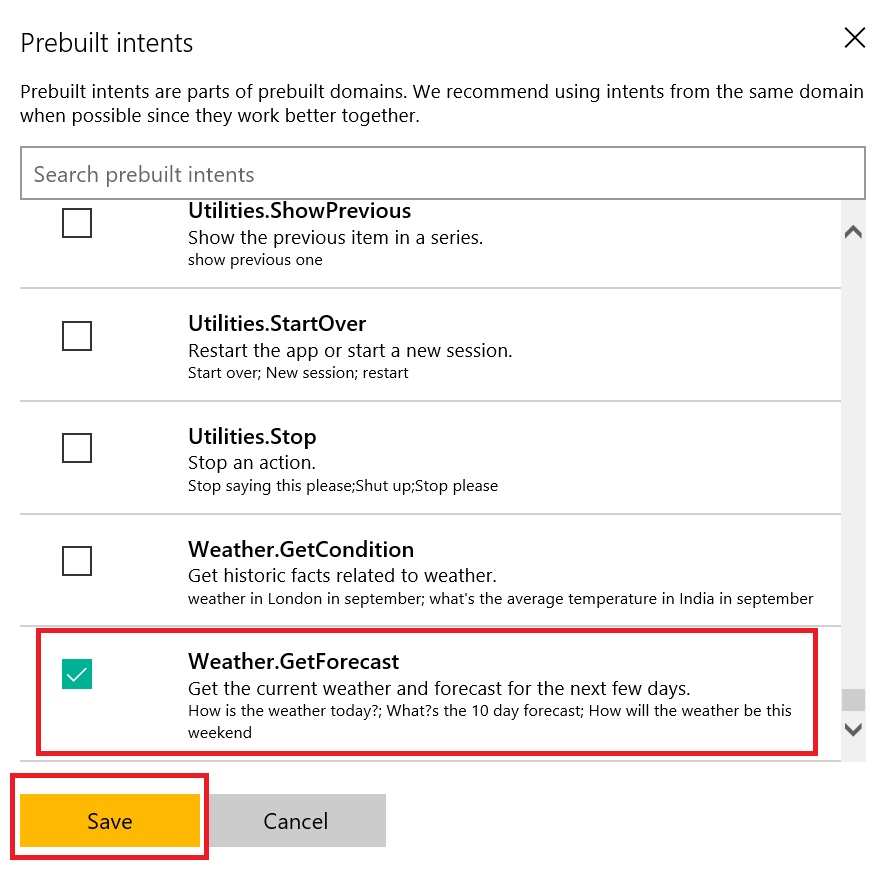
You will see a list if prebuild intents in new pop up window. Scroll down to the last and select the checkbox next to Weather.GetForecast. Yes, in this article, we are going to see how we can extend our bot to respond to queries related to weather.
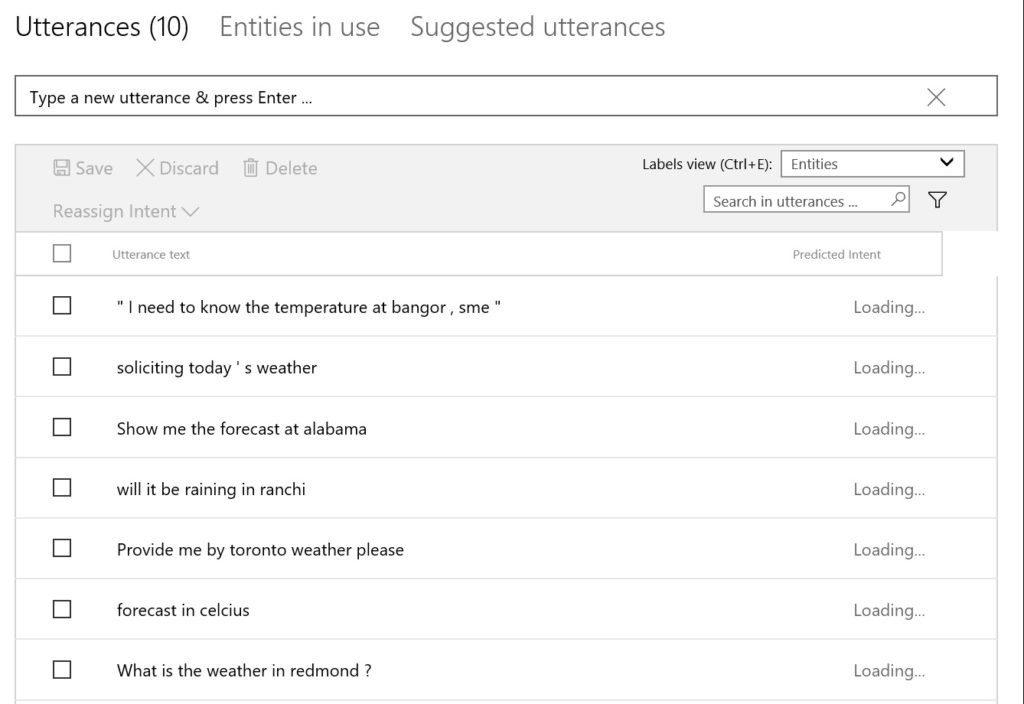
Once it’s added you can see the number of Utterances already added by default. At times, it may take a few seconds before the number shows up and you may see Loading… in the meantime.
As you can see, the utterances are just various forms of the weather related queries. We can add our own also in here, if we want.
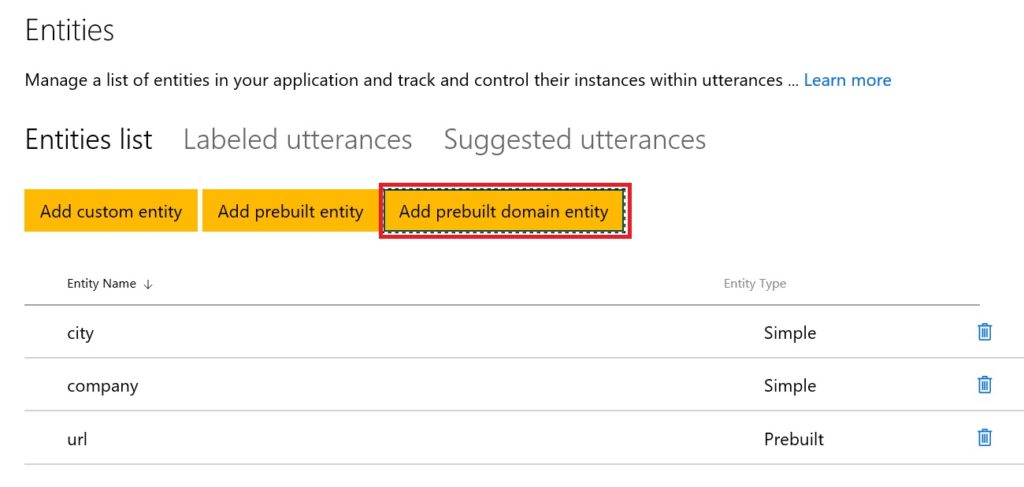
An entity represents an instance of a class of object that is relevant to a user’s intent. In the utterance “What’s it like in Paris”, “Paris” is an entity of type Weather.location. By recognizing the entities that are mentioned in the user’s input, LUIS helps you choose the specific actions to take to fulfill an intent. Now, lets add an Entity as well. We will again add a prebuilt one which works best with prebuilt intents. So, click on Add prebuilt domain entity
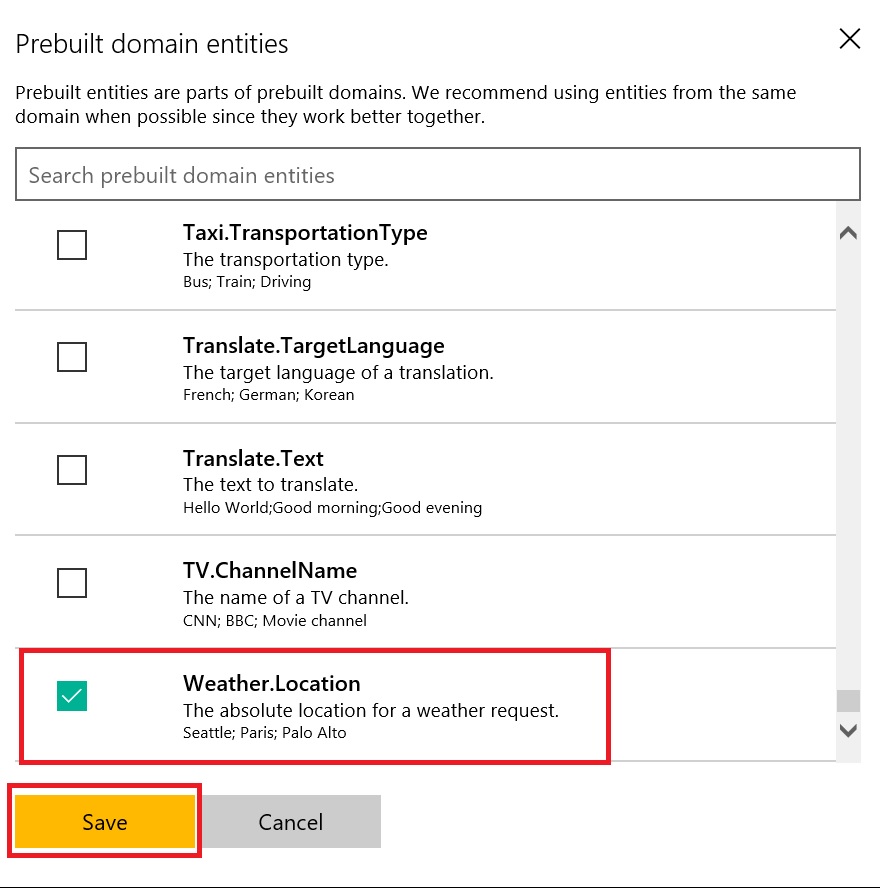
It will open a new popup window. Again scroll to the end and select Weather.Location and click Save.
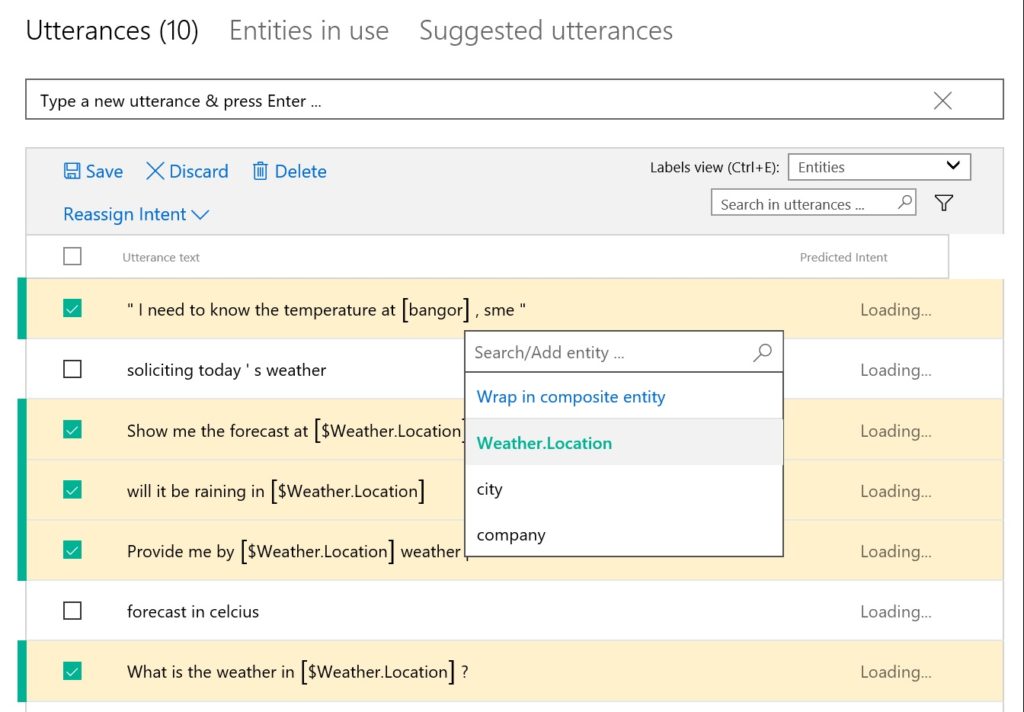
Now, lets go back to Utterance and map the city names with the entity. Just click on the names of the cities one by one and select the entity Weather.Location from the drop down. You only need to label custom entities, because pre-built entities are detected and labeled automatically by your app
Now, comes an new and important concept of Features.
Features don’t define entities. They simply provide examples or patterns to help LUIS recognize entities and related intents.
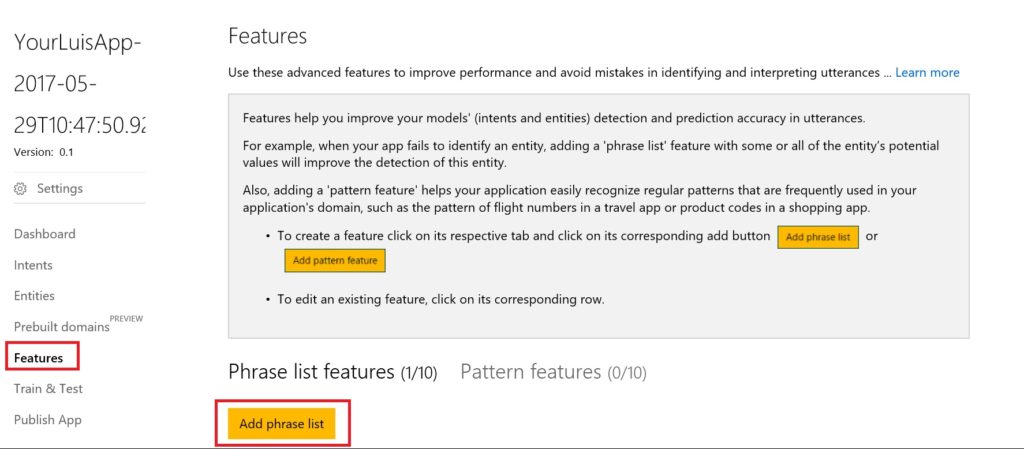
Click on Features from left navigation and click on Add phrase list.
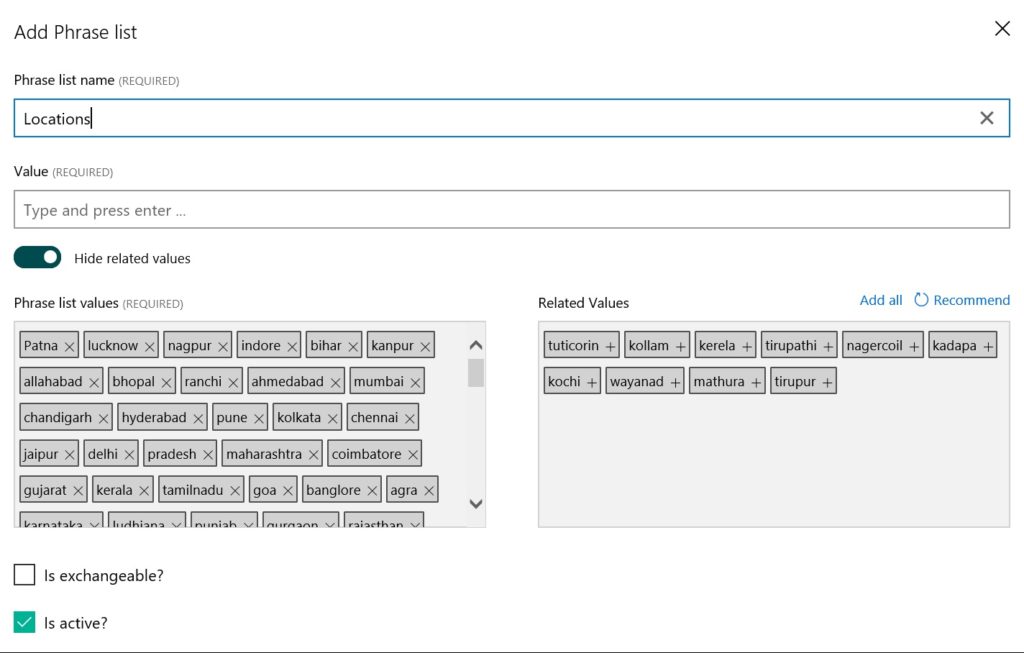
Type name name as Locations and start typing values as different cities. The benefit of entities here is if LUIS identified London as a city but doesn’t identify a small city say Bhopal in India, if we add both London and Bhopal in the phrase list values and then LUIS will treat Bhopal same as it will treat London. Let’s uncheck Is Exchangeable, as in our case cities are not exchangeable, check Is active and save.
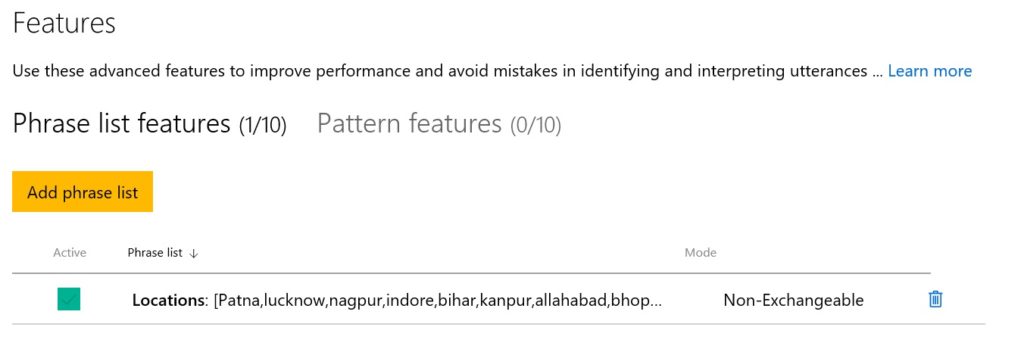
This is what you will see once a feature has been added.
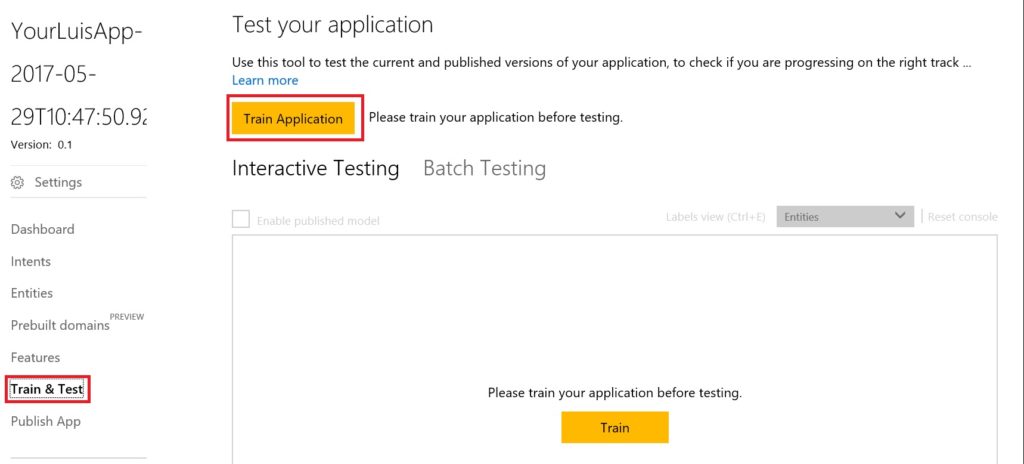
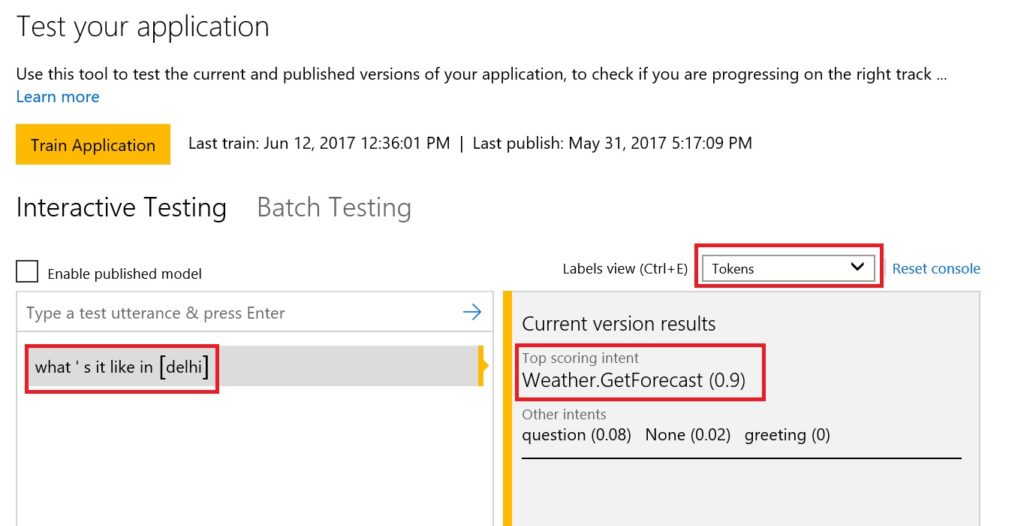
Almost there, lets train our application and test.
Just type something like what’s it like in delhi and you can see the intent is coming as Weather.GetForecast with 0.9 weight.
Lets use this LUIS app in our bot. Basically what we are going to do it to once the bot receives a query asking for weather of any city, it will connect to a weather forecasting service via REST and return the result.
In this case, I am using openweathermap.org API which is free for personal use with some threshold. You just need to register there (http://openweathermap.org/appid) and get the appid to be used in the REST call. Once that’s done, just go to your bot and add this matching condition
[code lang=”js”]
.matches(‘Weather.GetForecast’, (session, args) => {
//Find which city the weather forecast is being asked
var city = new builder.EntityRecognizer.findEntity(args.entities, ‘Weather.Location’).entity;
//call the openweathermap api
var api = ‘http://api.openweathermap.org/data/2.5/weather?q=’ + city + ‘&APPID=99c9faaec2e8xxxxxxxx088005273f8&callback=?’
var request = require(‘request’);
request(api, function (error, response, body) {
if (!error && response.statusCode == 200) {
session.send("Weather in: " + city);
session.send(JSON.stringify(body, null, 4));
}
})
})
[/code]
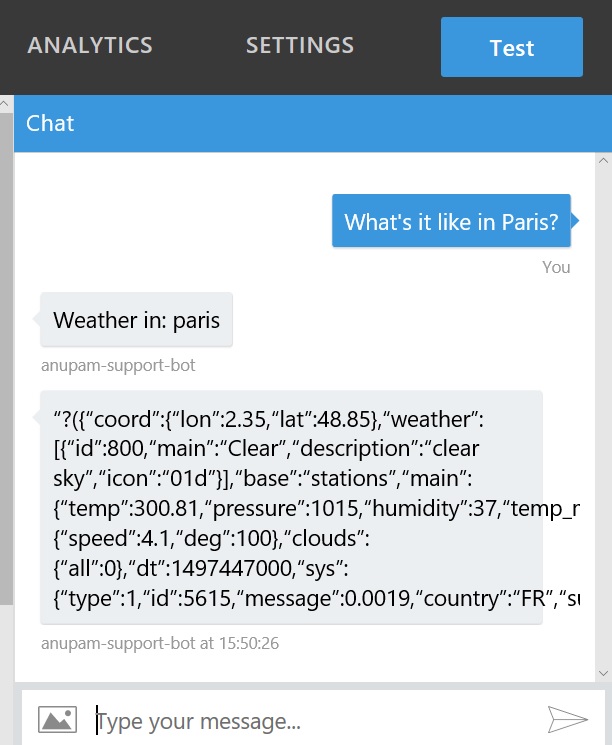
And that’s it. Save and test, you will see the weather forecast in JSON format for the city being asked 🙂
Anupam Shrivastava, a learner, explorer, traveler and tech enthusiast. New technologies drive me and cloud is where we live now. So, lets try to make the world better for our fellow cloudizens :)